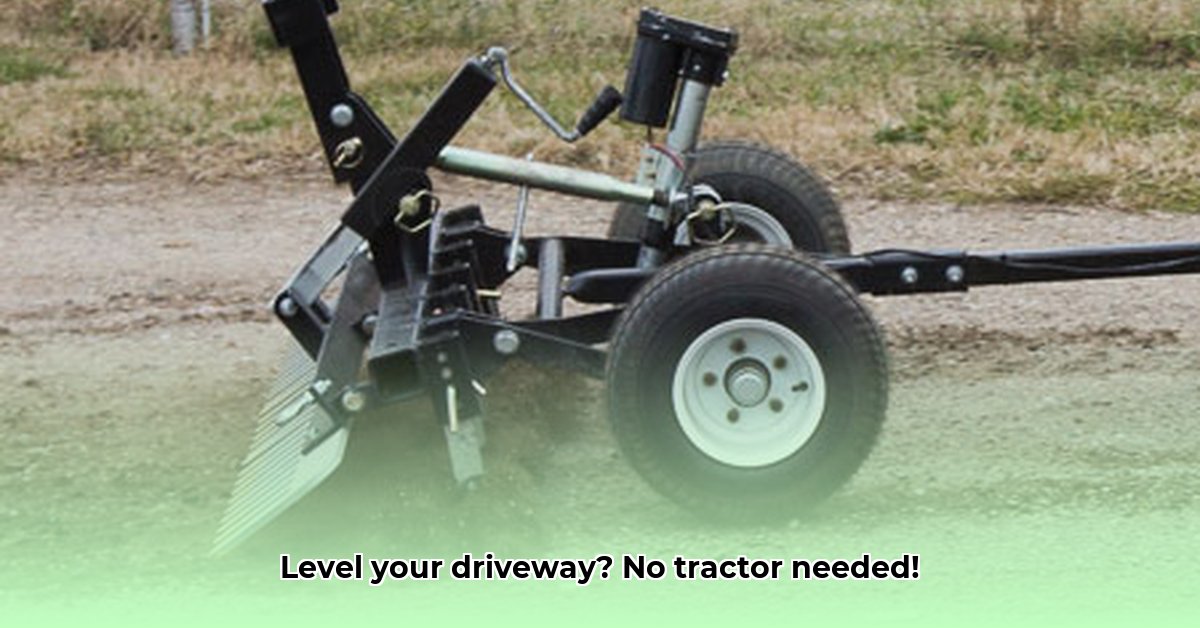
Got a bumpy driveway driving you nuts? You don't need a tractor to fix it! This guide shows you how to achieve a smooth, level driveway using everyday tools and a little know-how. We'll cover everything from assessment to finishing touches, and even long-term maintenance. Whether it's a minor tweak or a complete overhaul, we'll provide simple steps and smart tips to get the job done right – and save money in the process. Ready to get started? For larger projects, consider heavy equipment options.
Getting Started: Assessing Your Driveway
Before grabbing your shovel, let's assess the situation. How large is your driveway? What's the material – gravel, asphalt, or other? This helps determine project scope and necessary tools. A quick sketch can aid visualization. Think of it as a small-scale landscaping project focused on your driveway!
Gathering Your Tools: Your DIY Arsenal
You don't need a full construction crew's worth of equipment. Here's what you'll need:
- Shovel: A square-point shovel works well; choose a smaller one for smaller driveways.
- Landscape Rake: For smoothing; essential for a professional finish.
- Long Level: Crucial for ensuring levelness; a 4-foot level is sufficient, but longer ones are better for larger driveways.
- Hand Tamper: To compact base material, especially important for gravel to prevent settling.
- Measuring Tape: For accurate measurements and slope assessment.
- Wheelbarrow (Optional, but recommended): Significantly eases moving materials.
Planning Your Attack: Achieving the Right Slope
Your goal is a gentle slope away from your house for proper drainage. A 1-2% slope is ideal (1-2 feet drop per 100 feet). Use your level to mark this slope. Visualize the water flowing smoothly away from your home—that's your target.
Let's Get Grading: A Step-by-Step Guide
Let's break down the grading process:
- Clear the Area: Remove debris, weeds, rocks, etc. A clean workspace is essential.
- Establish Your Slope: Use your level and tape measure to precisely mark your desired slope. Accuracy is key. Consider using stakes and string to maintain consistency.
- Move the Material: Remove high points and fill low areas, working in small sections and frequently checking your level. Your shovel and wheelbarrow are your best friends here!
- Compact the Material: Use the hand tamper to compact the base material in layers. This is crucial, especially for gravel, to prevent settling. Compact each layer before adding more.
- Smooth the Surface: Use your rake for a smooth, even finish. Take your time for a professional look.
- Final Inspection: One last level check. Adjust as needed. Addressing minor issues now prevents larger problems later.
Troubleshooting: Addressing Common Challenges
Things don't always go as planned. Here are some common challenges and solutions:
- Rock-Hard Materials: A pickaxe or breaker bar might be necessary. Prioritize safety—wear protective gear and take breaks.
- Uneven Settling: Multiple layers of compaction are key. If settling persists, add more material and re-compact.
- Patience: This may take longer than expected. Don't rush; take breaks as needed.
Maintaining Your Driveway: Long-Term Care
Even a perfectly graded driveway needs maintenance:
- Regular Raking: Maintain a smooth surface and remove debris.
- Addressing Settling: Address settling promptly by adding material and compacting.
- Sealants (Optional): Consider sealants for added durability, especially for gravel driveways.
- Drainage Monitoring: Regularly check drainage and adjust as needed.
Weighing the Pros and Cons of DIY Driveway Grading
| Pros | Cons |
|---|---|
| Significant cost savings | Time-consuming |
| Rewarding accomplishment | Physically demanding |
| Increased knowledge and skills | Requires careful planning and precision |
| Full control over process and outcome | May be challenging for very large driveways |
With planning, the right tools, and patience, you can achieve a beautifully graded driveway without expensive equipment. Enjoy the process!